Create Your First Project
In this tutorial, you'll create a complete AI-generated website using the portal wizard. No coding required.
Prerequisites
- AI Workflow Framework installed and configured
- OpenAI API key configured in provider settings
- Portal user account created
Step 1: Access the Portal
Navigate to your portal and find the "Create Website" option.
- Go to your RebusAI URL (e.g.,
https://yoursite.com) - Log in with your portal credentials
- Click "My Account" in the top navigation
- Find "AI Projects" in the sidebar
- Click "Create Website"
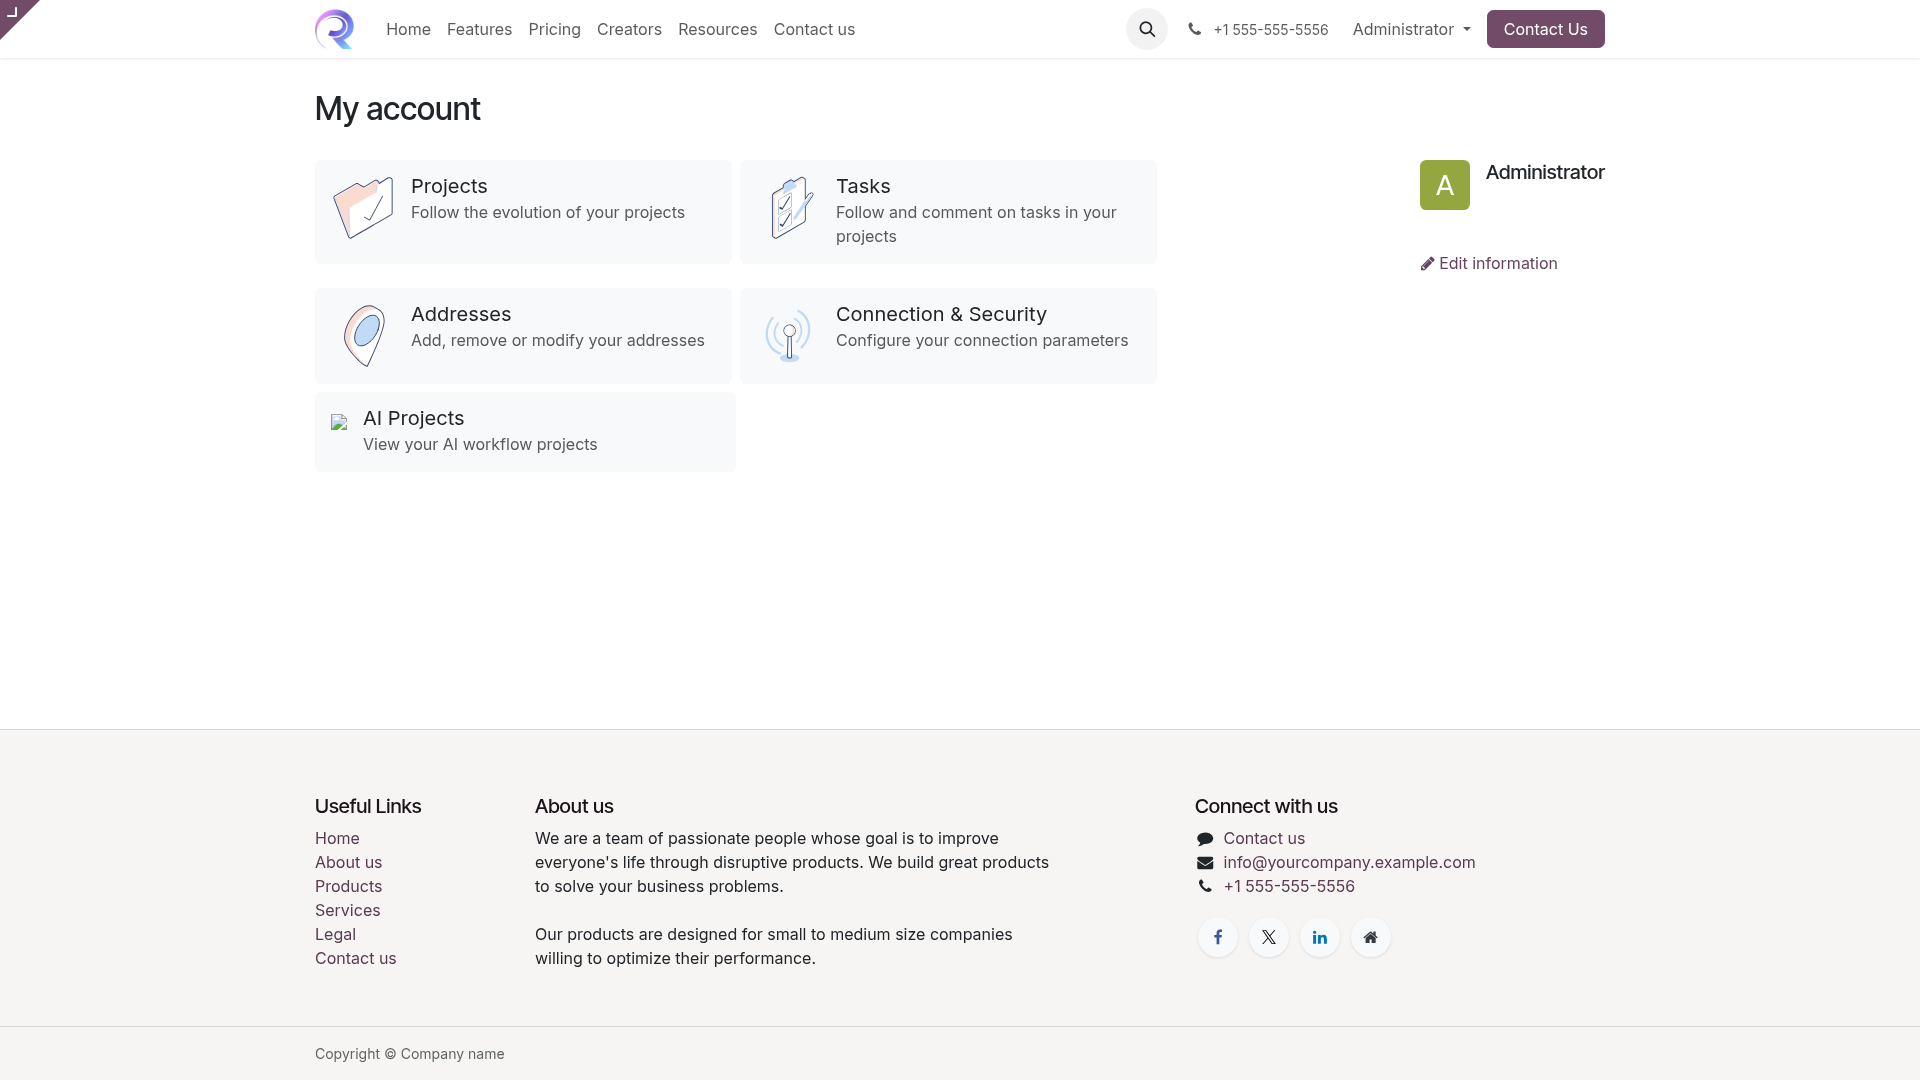
Portal dashboard with AI Projects section
Step 2: Fill in the Wizard
The website creation wizard gathers information about your project.
Company Information
Enter your company name and select your industry from the dropdown. This helps the AI understand your business context.
Website Type
Choose the type of website: Corporate, Portfolio, E-commerce, Blog, or Landing Page.
Page Count
Select how many pages you want (1-10). More pages means more content but longer generation time.
Description
Write a detailed description of your business. The more detail you provide, the better the AI can generate relevant content.
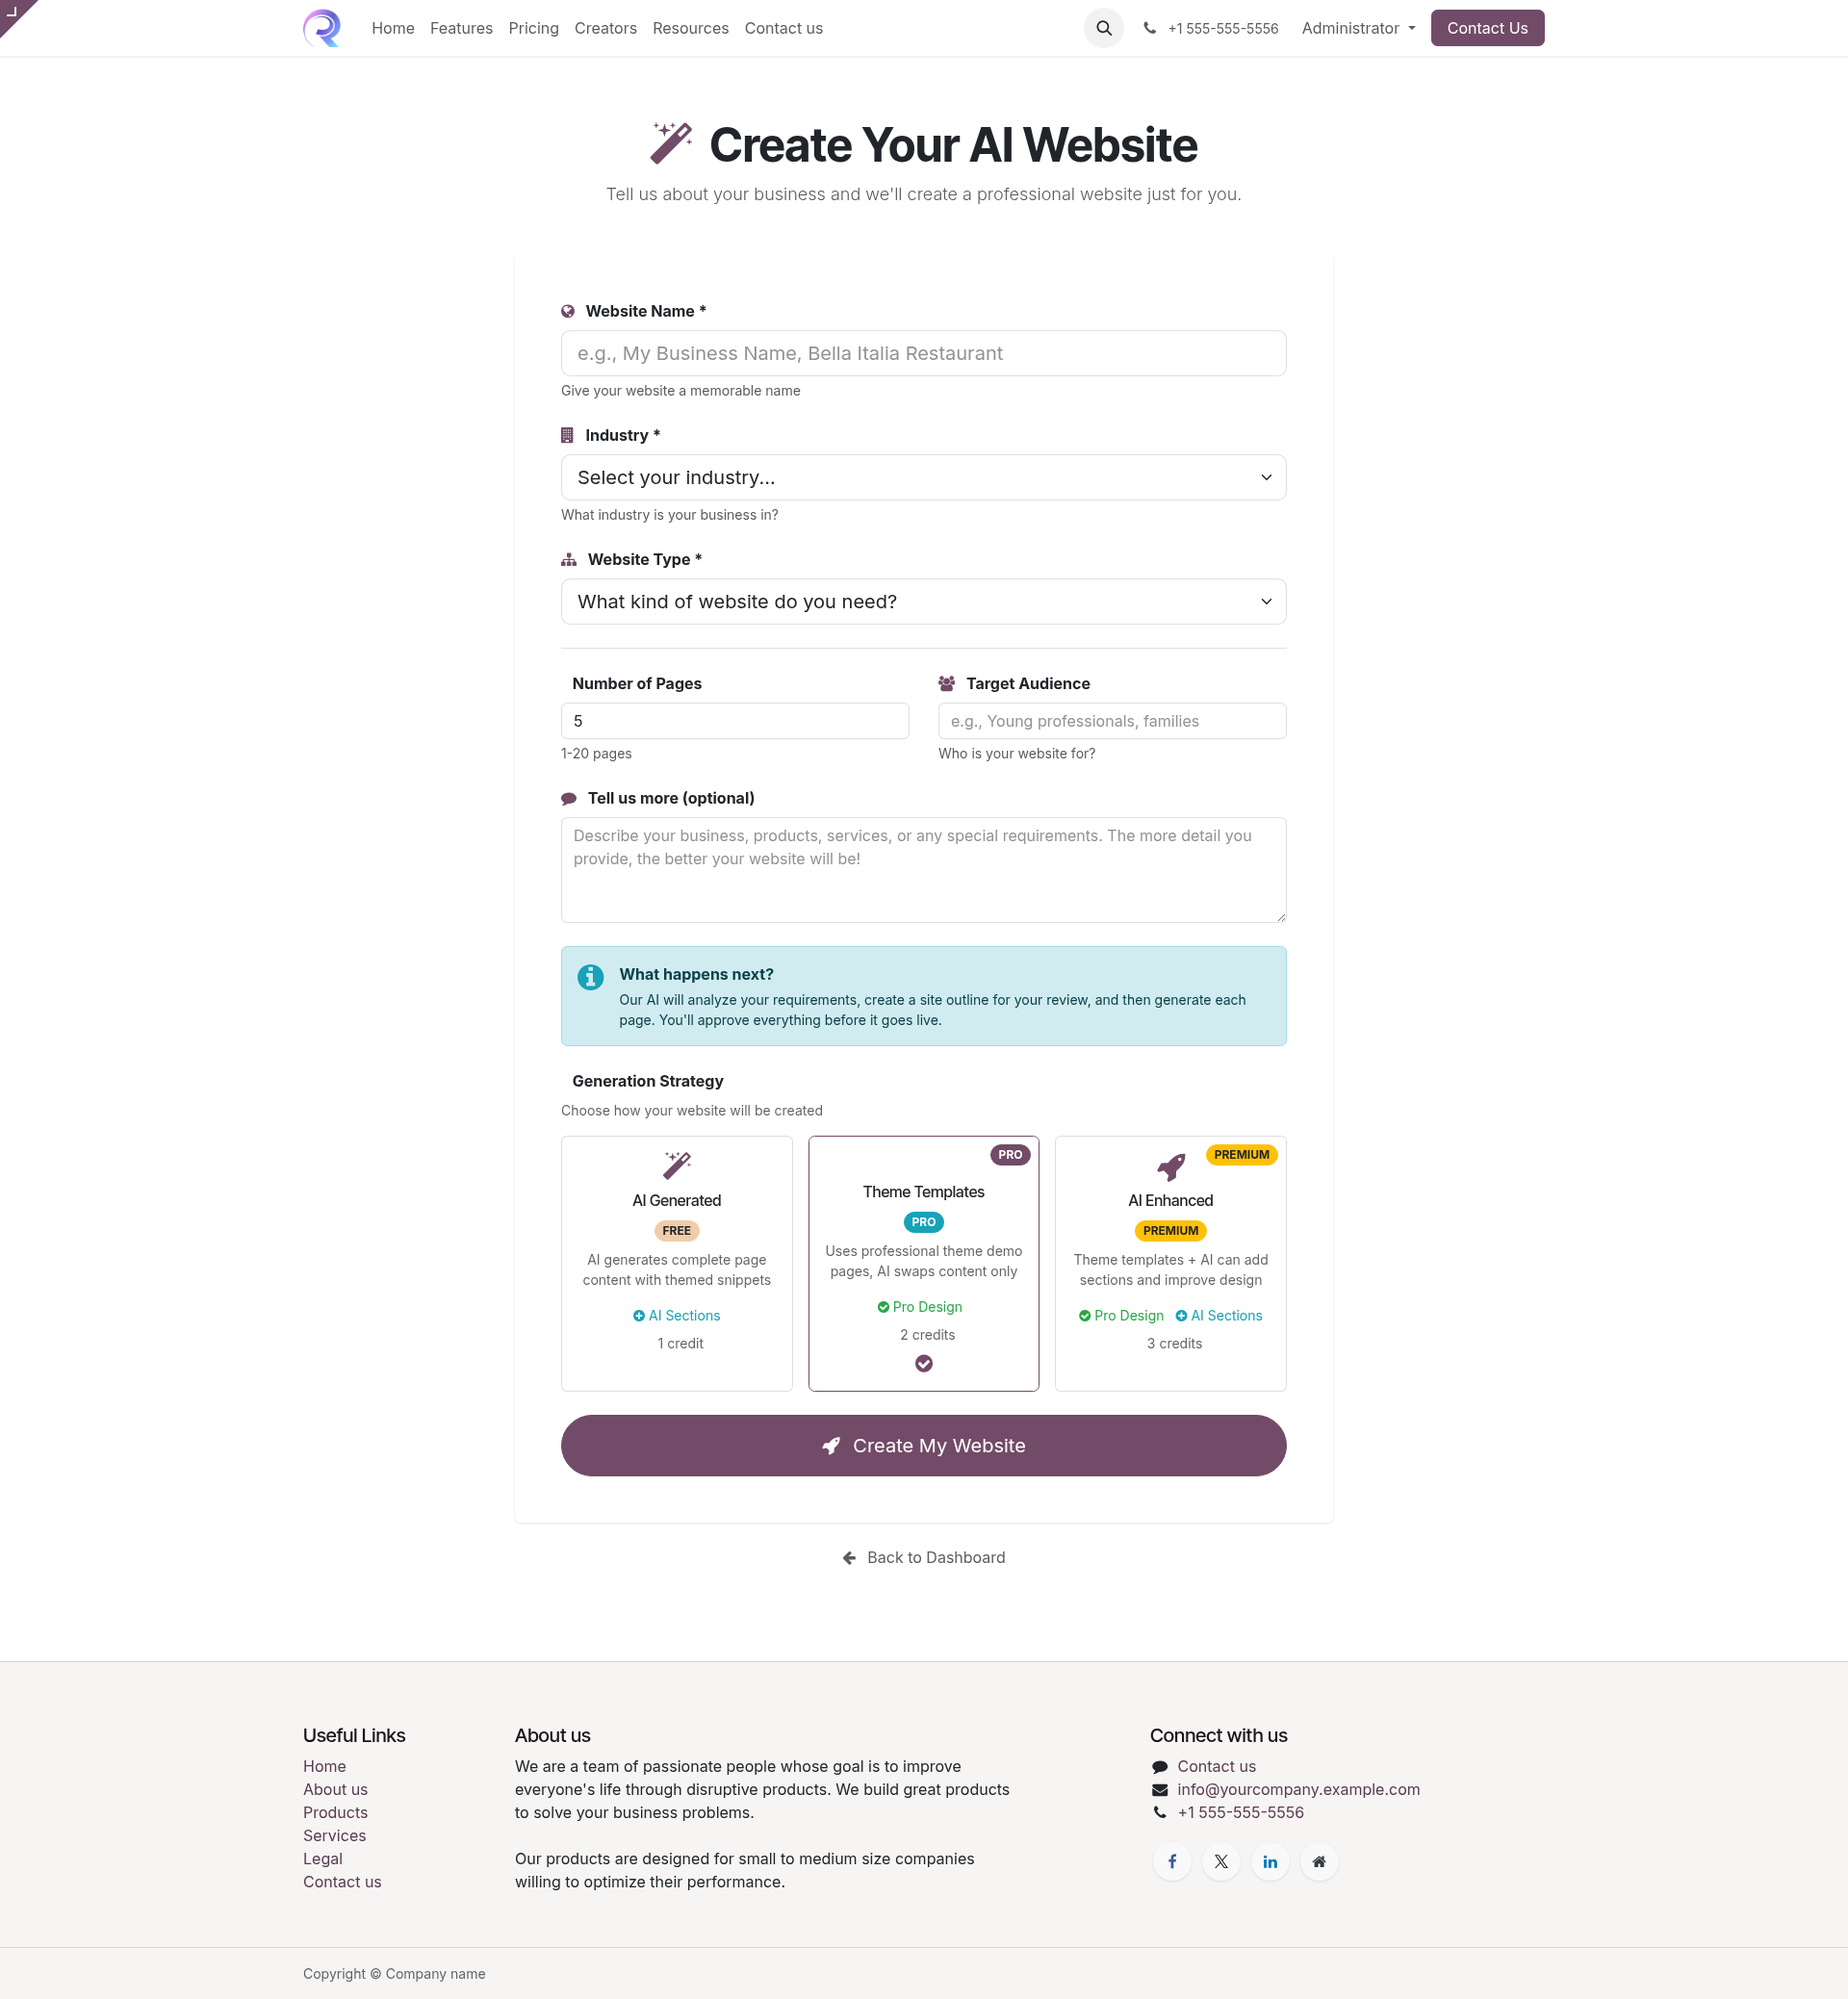
Website creation wizard form
Step 3: Submit and Monitor
Click "Create Project" to start the AI workflow.
- You'll be redirected to the project dashboard
- Watch the progress bar as stages complete
- The AI will work through Discovery, Research, and Design stages
- You'll receive a notification when approval is needed
Step 4: Review Design Proposal
When the AI completes the design proposal, you'll need to review and approve it.
- Click "Review Design" when prompted
- Review the proposed page structure and navigation
- Check the color scheme and style recommendations
- Either approve or request changes with feedback
Providing Feedback
If you're not satisfied with the design, click "Request Changes" and provide specific feedback. The AI will regenerate the proposal incorporating your suggestions.
Step 5: Review Generated Pages
After design approval, the AI generates each page. Review them individually.
- Each page appears for review as it's generated
- Preview the page content and layout
- Approve pages that look good
- Request changes for pages that need adjustment
Step 6: View Your Website
Once all pages are approved, the website is published automatically.
- Click "View Website" on the completion screen
- Your new website is live and accessible
- Use the website editor for any final tweaks
Congratulations!
You've successfully created your first AI-generated website. Explore the other workflows to create ebooks, courses, surveys, and videos.